Nextcloud ⧉ is free open source software that lets you set up your own independent online services, instead of relying on companies like Google or Apple. There are lots of reasons why having your own indie services is a good idea, and Nextcloud is one of the easiest and best ways of doing this.
It was originally developed for businesses, governments and organisations, but it is now available to anyone, and includes lots of features for private individuals too.
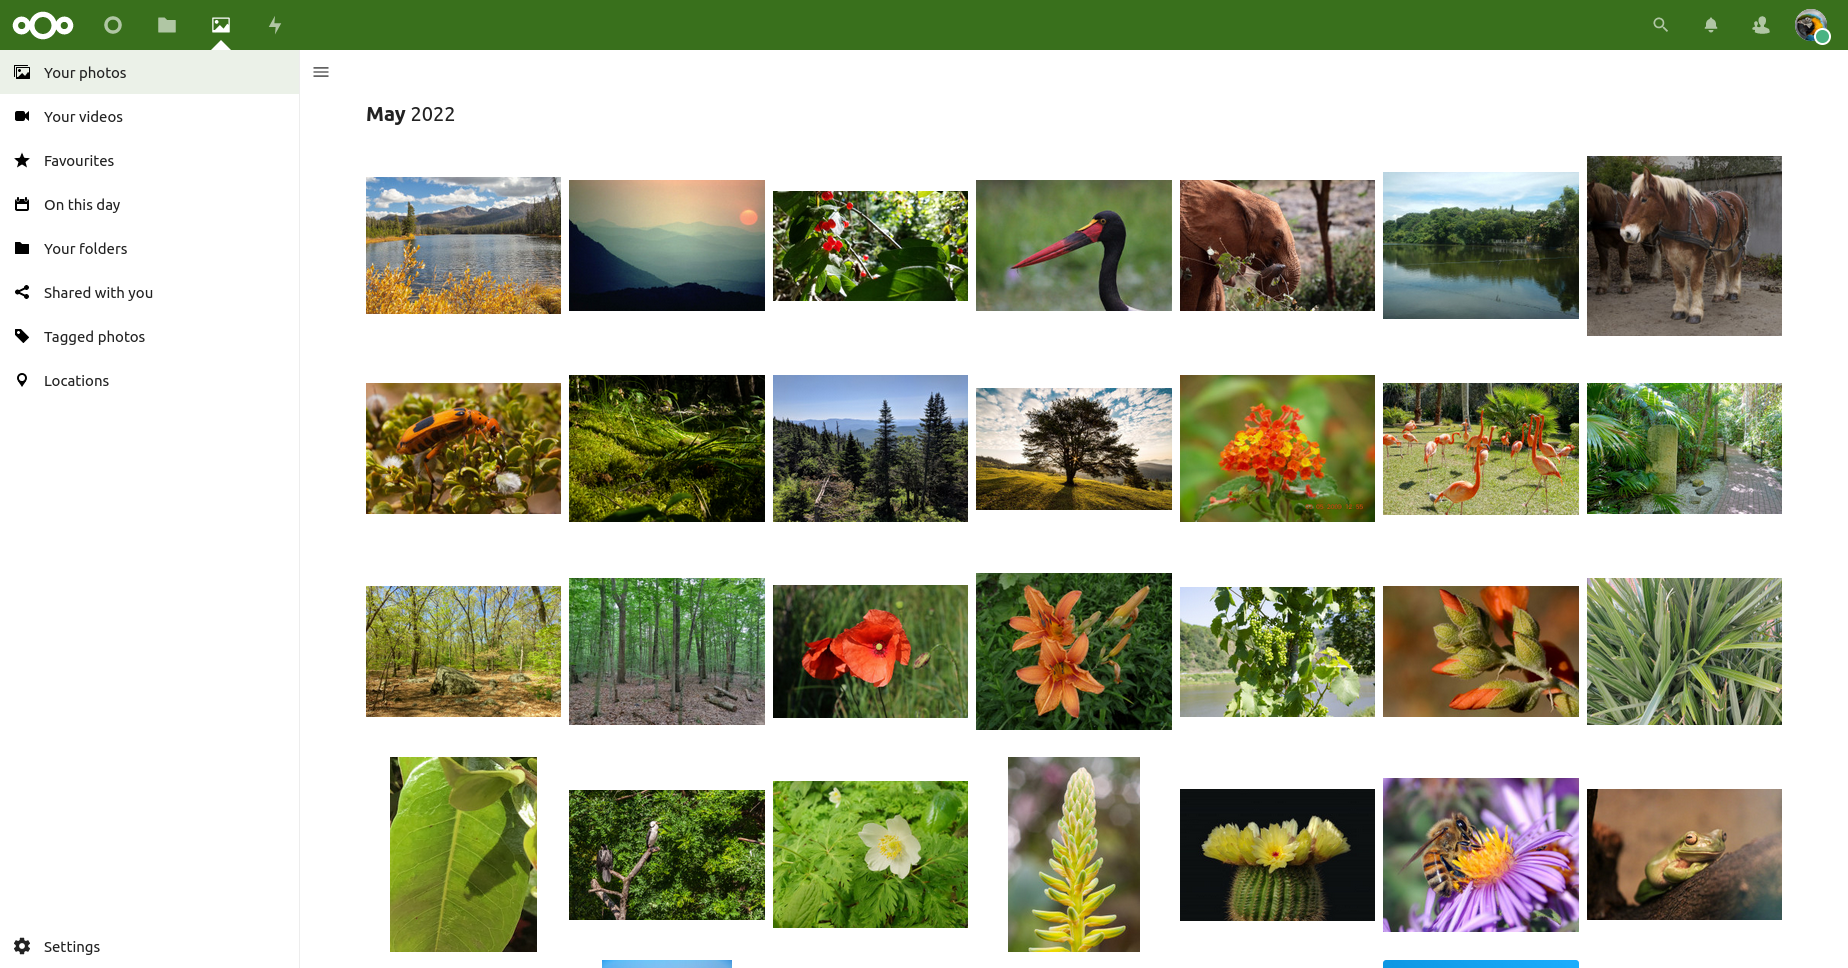
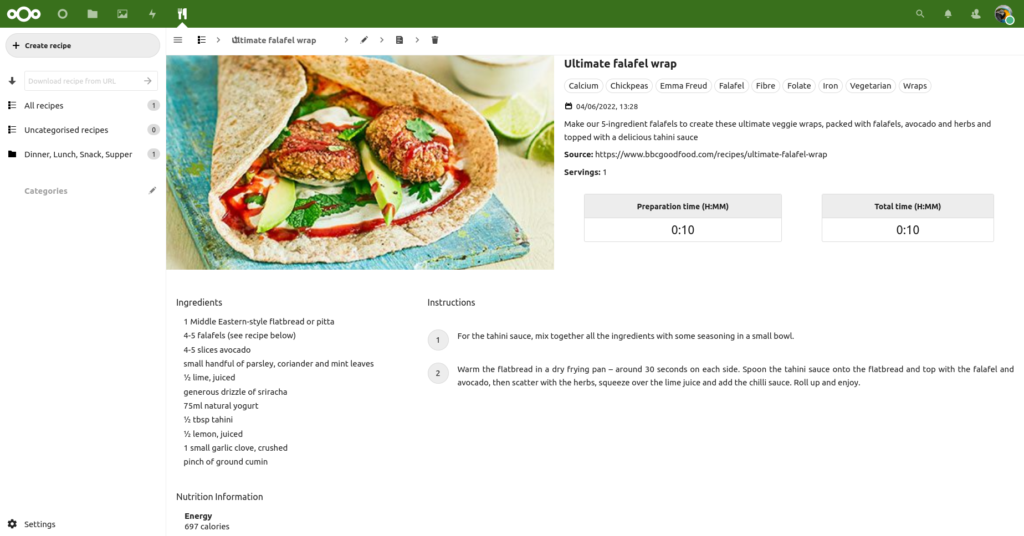
Once Nextcloud is set up, there’s a wide range of services ⧉ you can add with a few clicks, such as storing photos, sharing files, syncing calendars and contacts, collaborating on documents, running your own private messaging system, streaming your music collection, running surveys, creating your own cookbook and lots more.
All of the services can be accessed through your Nextcloud’s website, but some can also be accessed through mobile apps.
Because Nextcloud runs on free and open source software and is available through managed hosting services, anyone can set up their own Nextcloud server. You don’t need to be a tech nerd, and you don’t need to be rich.
If you’re interested in giving this a go, there’s a guide below which explains how to set up your own Nextcloud. This has been written with non-technical people in mind:
Step 1 – Choose a hosting company
There are many Nextcloud hosting companies out there because it’s such a popular platform. Many website hosting companies offer Nextcloud as a service you can install and update yourself with a few clicks. If you need suggestions, have a look on the Grow your own cloud page.
Hosting companies vary greatly in price, but you can get a reliable fast Nextcloud for about 10 euros a month. I would avoid using any “free” services, because they tend to be slow or unreliable (unless it’s a free trial period for a paid service).
The reason you have to pay is because there are no ads, no one is spying on you, and someone has to pay for the cost of keeping the server hardware going. It’s effectively the price you pay for privacy and independence.
Some managed hosting companies let you install the complete range of Nextcloud add-on apps, while others have a restricted range available. Check with potential hosting companies which apps are included by default, and whether you can add new apps yourself.
Also, if you want to avoid as much techy stuff as possible, choose a hosting company that offers domain names too (see step 2 below).
Step 2 – Choose a domain name or subdomain
A domain name is a website address like example.com, which will let you access your Nextcloud through a web browser. The most convenient option is to buy the domain name from the same company that provides the Nextcloud hosting (see step 1 above), because it will save you a lot of bother technically. However, you don’t have to do this, and some prefer to buy domains separately.
The prices of domains can vary tremendously, so try lots of different addresses until you find one that suits you. There should be some in everyone’s price range.
If you already own a domain name, you can connect your Nextcloud to a subdomain of that for free. For example, if you already have a website at example.com you could have your Nextcloud at an address like cloud.example.com. You only need to pay for a domain, all of its subdomains are included in the domain’s price.
Alternatively, if you don’t want to own a domain name at all, some hosting companies let you use a free subdomain based on a domain they own. Bear in mind though that if you use a hosting company’s subdomain, it will be more difficult to change hosting companies if you ever need to. A hosting company’s subdomains remain their property, while your domains are your property.
For more info on this topic, see my Beginner’s Guide to Domain Names.
Step 3 – Sign up for hosting and connect your Nextcloud to a domain or subdomain
Once you’ve decided on a domain and hosting company, go ahead and sign up for both.
If you buy your domain name and Nextcloud hosting from the same company, they will handle all the technical process of connecting them together. This is the easiest option.
If you buy your domain name and Nextcloud hosting from different companies, you will need to follow your hosting company’s instructions to connect your domain to your Nextcloud. This will be pretty technical, but you only need to do it once and the hosting company and domain companies should provide you with technical support.
Step 4 – Sign in to your Nextcloud for the first time
Once it’s all set up, you need to sign in on your Nextcloud for the first time. Do this by going to your domain (example.com) or subdomain (subdomain.example.com) through your web browser.
When you do this for the first time, you will need to pick a username and password, and the account you set up like this will be an “administrator” account. This means the account has lots of special powers such as adding or removing users, installing apps and adjusting your Nextcloud’s settings. Because of these extensive powers, be very careful about who has access to this account. Don’t use an easy-to-guess password.
In order to have maximum security, some people create a separate personal account for their everyday use, and only sign in to the administrator account on rare occasions.
Another thing that may happen when you sign in for the first time is it asks you if you want to install a default set of apps. These are the most commonly used apps that Nextcloud themselves recommend. Don’t worry too much about this, as you can add or remove apps yourself later (see step 6 below).
Step 5 – Adding other users (optional)
If it’s a shared Nextcloud, you can use the admin account to create accounts and passwords for your friends, family or colleagues. This also lets you assign them storage limits (so that you don’t go over the limit of your hosting plan) which restricts how many photos and other data they can upload.
If you do give other people accounts on your Nextcloud, please bear in mind that in some parts of the world you may be legally responsible if they upload illegal material to your Nextcloud. I am not a lawyer, I cannot give legal advice, and I cannot tell you what the situation is in your area, but it’s important that you are aware of this possibility. You may wish to consult with a legal expert in your country, especially if you are going to have strangers on a Nextcloud that you own.
You don’t have to share your Nextcloud though, lots of people have Nextclouds just for their own personal use. By default, you are the only one who has access, no one else can sign up on your site unless you create an account for them.
Step 6 – Add some apps
When you log in through the website, you can see icons for your Nextcloud’s apps along the top of the screen. Click on an icon to access that app.
If you install it in its barest form, Nextcloud comes with administrative tools, a Files app and a Photos app. It can do a lot more than this, though! The way you get other functions is by installing more apps from the built-in app catalogue. You can access the catalogue by logging in to the administrator’s account, then clicking on the profile image in the top right corner and selecting “Apps”.
(If you cannot see the “Apps” link, it may mean you have signed up with a hosting company that does not allow additional apps to be added. This is why it is important to choose a hosting company carefully, as mentioned in step 1 above. However, they may manually add apps to your Nextcloud if you ask them to, it’s worth contacting them just in case.)
Despite its “app store” name, the apps in the catalogue are all free and open source, and can be installed by just clicking on their “Download and enable” buttons. They are organised by categories along the left side of the screen. If you want to sort the apps by ratings, read reviews etc, this can be done on the Nextcloud Apps ⧉ site, and the catalogue has “View in store” links for doing this next to each app listing.
Apps can be disabled by going to the app catalogue, browse the “Your apps” category, then click “Disable”. To remove an app completely, disable it and then click “Remove”.
You’ll also be able to update your apps from the app catalogue, it will automatically display a message letting you know if you have apps ready to be updated. Click on the “Update” button to do the updates.
Step 7 – Customise your Nextcloud
You can customise your Nextcloud so that it has a certain colour scheme, log on page image, background image, logo, name etc.
To do this, log in through the administrator’s account, click on “Settings”, then on the left sidebar select “Theming” in the “Administration” section.
Step 8 – Mobile apps and smartphone support
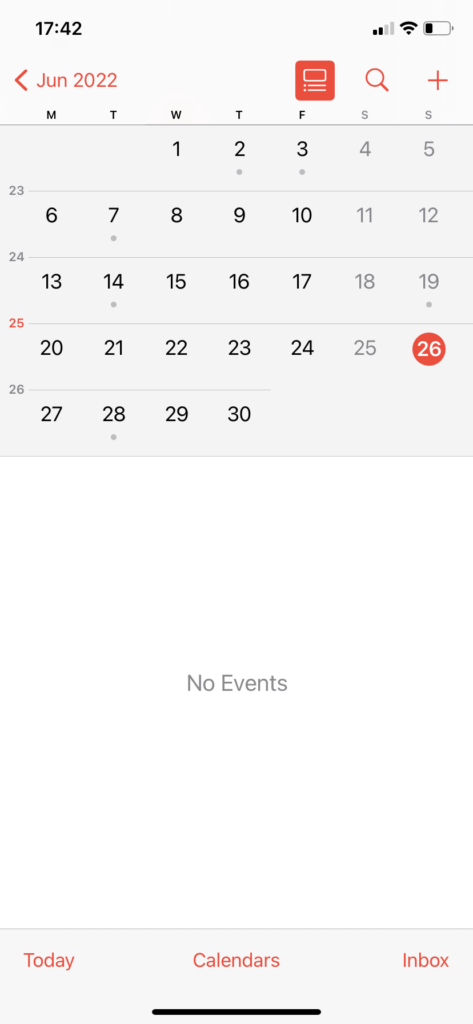

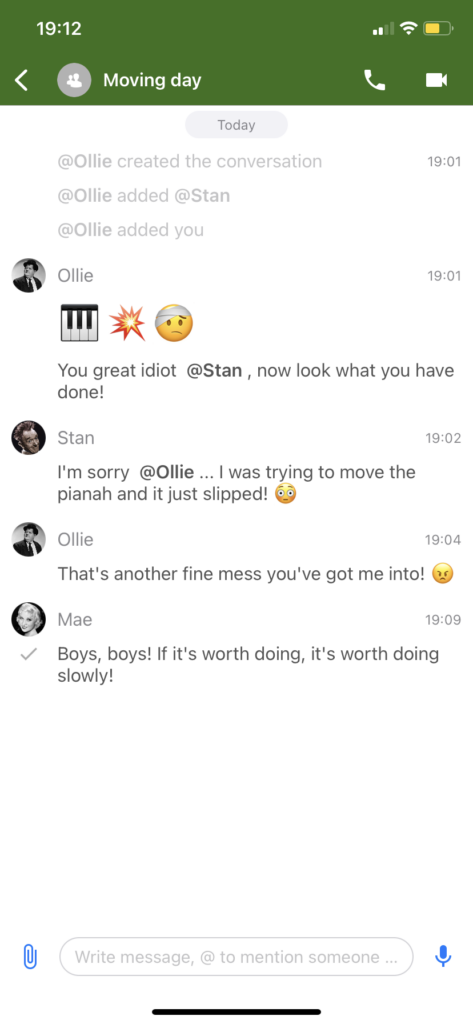
Lots of the apps on Nextcloud can be accessed through mobile apps for Android and iPhone / iPad.
Some of these mobile apps are purpose built for Nextcloud (such as Nextcloud ⧉ or Nextcloud Talk ⧉), while others are more general that use the same open standards as Nextcloud (such as Substreamer ⧉).
Nextcloud also includes compatibility with many phones’ built-in features. For example, you can sync Nextcloud’s Calendar and Contacts apps with the iPhone’s Calendar and Contacts apps ⧉.
Step 9 – Make sure there are regular back-ups
When you’re choosing a hosting company (as in step 1 above), ask them what their backup policy is for their customers. This is really important in case something goes wrong, and it’s especially important if you are running a Nextcloud on other people’s behalf.
Some hosting companies will have an automated system where it takes regular backups that you can restore from, and you can download these to your own computer to make extra sure that there is something to roll back to.
Step 10 – Legal stuff
As mentioned earlier, I am not a lawyer, and I cannot give legal advice.
However, depending on where you live, it is possible that you are legally responsible for what is uploaded to your Nextcloud, even if it’s one of your users doing the uploading.
Bear this in mind when choosing who gets access to your Nextcloud. Only give accounts to people you trust.
Is Nextcloud for you?
If you’re at all interested in having your own online services, Nextcloud is a really good place to start. It’s easy to use, cheap to run, there are all kinds of add-on features available and lots of hosting companies to choose from.
It’s probably the most accessible and powerful alternative to Google or Apple, and it shows it’s possible to go your own way and “grow your own”.